Matt and I love grilling. Well actually, he loves to grill and I love when he grills. My favorite thing he makes? Corn on the cob.
Sounds simple but boy, the way he makes it is truly addictive. It’s all about the spices and some TLC.
Ingredients:
- Corn – 1 per person
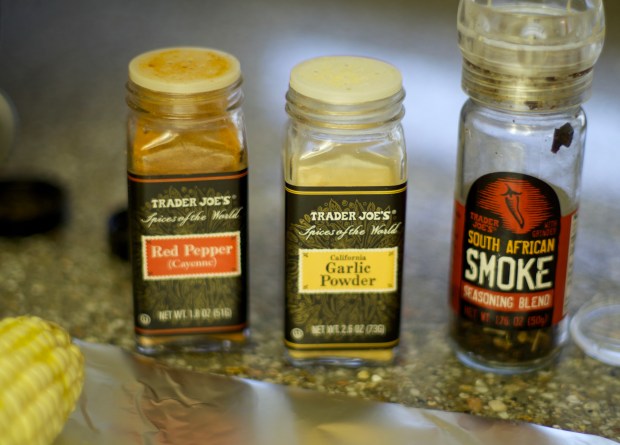
- Cayenne Pepper
- Garlic Power
- South African Smoke Seasoning (Trader Joes – This is a seasonal item but it’s supposed to be in stores in August)
- Olive Oil
- Tin Foil
Now for the recipe…
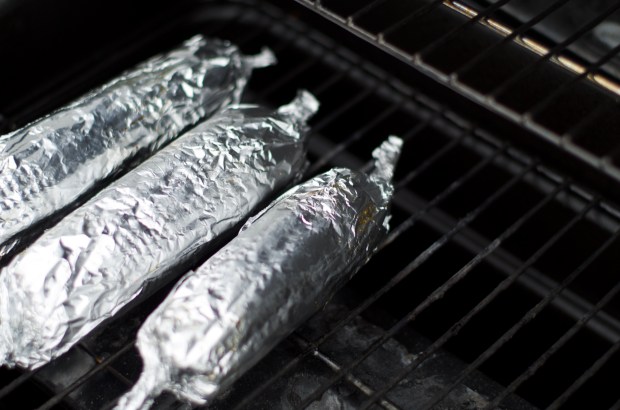
After husking the corn, place each one on it’s own sheet of tin foil. Drizzle with olive oil.
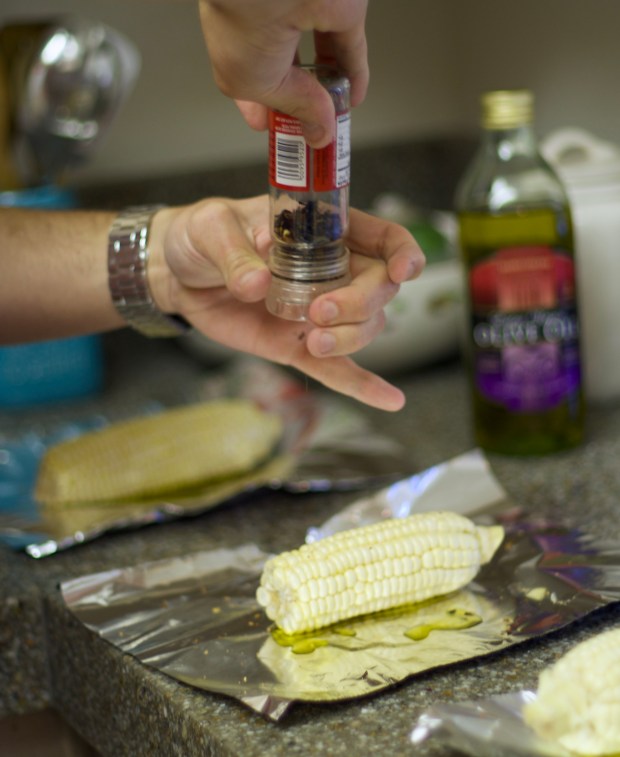
Add each of the spices and don’t be afraid to load it on depending on your preferences.

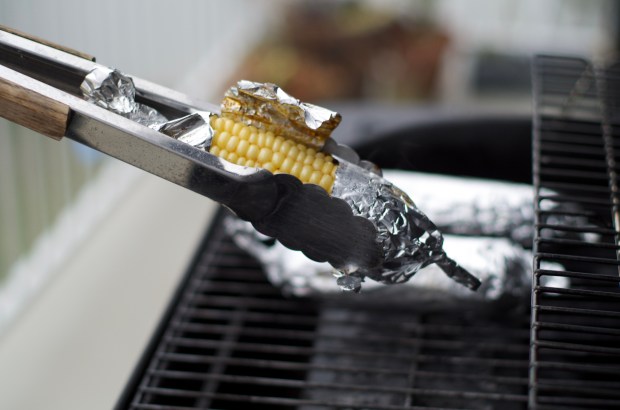
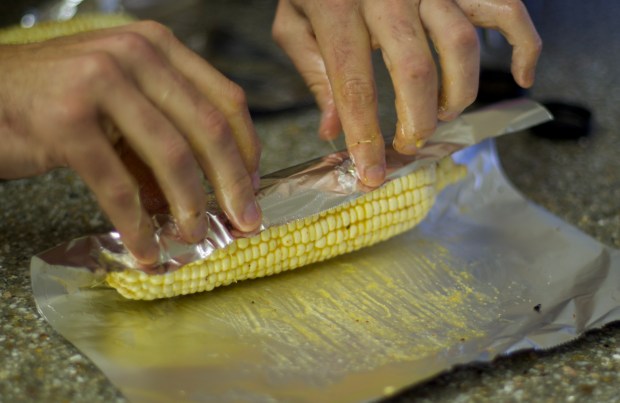
Rub it all in and wrap the corn up in tin foil, twisting the ends.
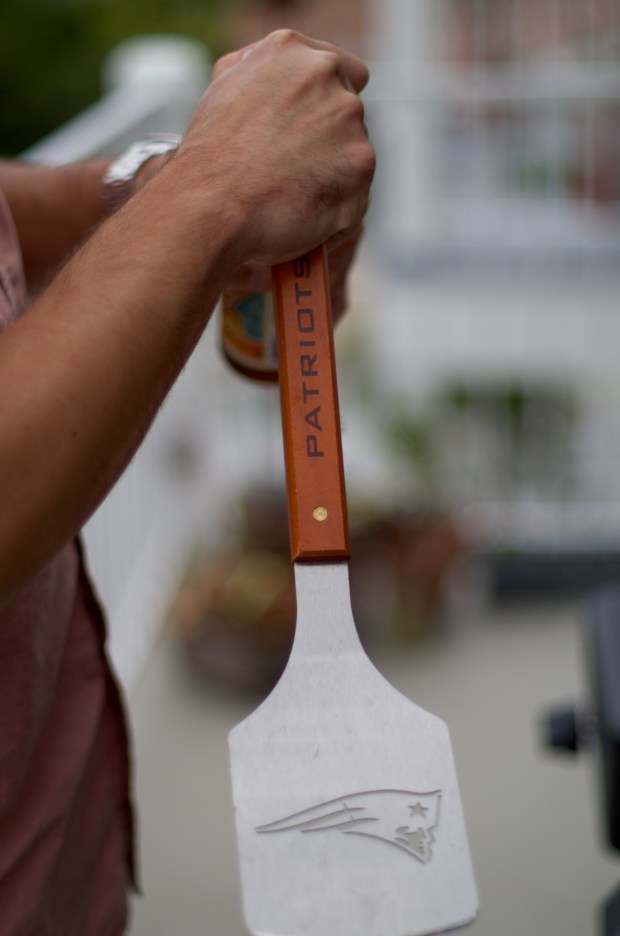
Place on the grill for ___ minutes.
Have a beer and wait it out. That’s what grilling’s all about, right?
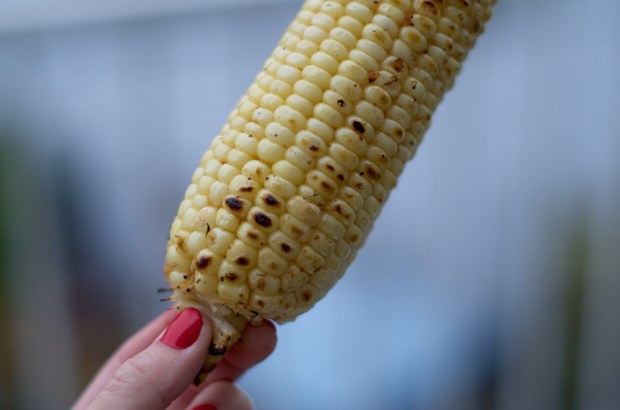
Check the corn to make sure the kernels are nice a plump.