DIY Pressed Flower Frames

In an earlier post, I shared how I preserved my wedding bouquet. Since then, I’ve been saving and pressing, saving and pressing. I LOVE making art out of flowers and I’ve found that it can make a perfect gift for others as well. So far, I’ve gifted my mom and sister-in-law framed flowers and I can’t wait to create more with my favorites!

Laura’s Preserved Wedding Bouquet

My sister-in-law married her college sweetheart at the University of Redlands in May 2018 and I snuck away with a bouquet and the Redlands table number to create a framed version of her bouquet for her birthday.

pressed-wedding-bouquet

Mother’s Day Framed Flowers

When I was little, my mom read me the classic book “Love You Forever” and it became our thing. She made up a song to go along with it that she sang me to sleep with every night. She even made a funny version of the song that has stuck with us my entire life. For mother’s day, I asked my aunt, a talented Sacramento calligrapher  who owns The Lovely Hue, to help me with this special project. I absolutely love how it turned out!

pressed-flowers

My Preserved Wedding Bouquet

I tested out my first pressed flower art on my wedding bouquet, which was very special to me. Two of my bridesmaids, my mom, and I scavenge the perfect flowers from a wholesale shop and Trader Joes two days before the wedding. I was even able to find one small bunch of ranunculus  – my personal fav – for my bridal bouquet. I wrote about how I preserved my wedding bouquet in an earlier post.

wedding-bouquet-preservation

ClaudettesCorner

Advertisement

How to Preserve Your Wedding Bouquet

DIY Dried Flower Frame

After months of planning your dream wedding, suddenly it’s over. All of the details you pined over for the past year waiting to be boxed up, thrown away or donated. Luckily for us DIY-ers, there are plenty of ways to reuse wedding décor, add a very personal touch to your home, AND get a daily reminder of your special day.

I’m all about memorabilia, and my bridal bouquet was something I definitely wanted to remember. I decided to try a couple different DIY projects to preserve the flowers: hanging a bridesmaid bouquet to dry and pressing my bridal bouquet flowers to create a DIY piece of art for our home. I am obsessed with how the framed flowers turned out and get to walk past it every day in my hallway!

What You’ll Need:
  • Kitchen scissors
  • Books
  • Paper
  • Large floating frame (The biggest I could find was 20×24)
  • Hot glue gun (I used a flower detail glue gun and it worked great)
  • Optional: vows printed on paper
  • Optional: ribbon from bouquet

Florals by Ahnalise Draper @gingerroots_ca

Disassemble Your Flowers

The day we got home from the wedding, I set to work on cutting flowers from my bouquet off each stem. I cut most of them to ensure I had plenty for the frame. In retrospect, I would have let them dry out a for a couple more days.

Thicker flowers like roses can be cut in half or you can pull out as much of the center green part as you can to spread it out in a circle. I ended up liking the round ones best after they dried.

Dry Your Favorites

Place flowers between two sheets of parchment paper and squash down inside a book. After you’ve gotten all of your flowers inside of books, pile them in stacks in a closet or other dark space. Add some heavy books on top to weigh them down more. After at least two weeks of drying, you can gently take out your flowers.

  • Blue thistle surprisingly dried perfectly in its full form, although I did try cutting them in half as well.
  • Carnations ended up not looking so pretty, so I used them underneath other flowers to add texture.
  • Peonies kept the most color, especially the pink one in my bouquet, which turned out to be a pale shade of purple when dried.
  • Snapdragons turned out great and I wish I had dried more!
  • Greenery and wax flowers made for nice borders around the vows sheets and other flowers.

NOTE: Make sure to let them dry out for a couple days before pressing them. I pressed them right away when they still had water in them so some of the larger flowers, like the roses, ended up ruining pages in my books and molded a bit during their time in the closet.

Arrange & Glue

Now comes the fun part and probably the toughest, since your flowers will be fully preserved (AKA not moving) once you glue everything down. I printed our vows on paper that looked like wood to go along with our rustic wedding theme and placed the flowers around them. You can also incorporate other flat items, such as the ribbon from your bouquet.

Cheers Claudette 2

Tips for Wedding Planning on a Budget

img_1278

Last September, Matt & I got married in Sacramento in my mom’s backyard and celebrated with 125 of our closest friends and family. I originally thought we’d be able to coordinate our wedding for $10K…psych! Even having it in my parent’s yard came with its own additional costs: table rentals, linens, lighting, etc. We had to figure out absolutely everything since nothing was included with the venue. While we were able to get our budget down to under $20K, I was shocked by how fast everything adds up.

Still, we were able to come in almost $2,000 under our budget and I was quite happy about that! After months of planning, research and very meticulous attention to my budgeting sheet (I love Excel), I came up with a few tips to help my fellow brides out:

Make a budget spreadsheet. I hear a lot of people say they have no idea what they spent on their wedding. Of course, the goal should be to spend less than your max budget and the only way to know if you’ve accomplished this is to log ALL wedding-related expenses on your spreadsheet throughout the planning process.

Our budget consisted of columns for “budgeted”, “projected” and “actual” costs. “Budgeted” should have very rough estimates and the max you will spend on specific line items in order to fit within your max budget. “Projected” should have more specific estimates and the “actual” column will have the final amount spent. If you are having a DIY wedding, you likely won’t be able to fill out a portion of these until after the wedding, but at least you’ll have an idea beforehand.

Get multiple quotes and rough estimates before setting your budget. I had no idea what certain things would cost, so I collected basic info about various costs and vendors in order to create my “budgeted” column. This gave me a better understanding on what things would cost and where I would need to cut back.

List out what’s most important to least important to you. Determine a few things that are crucial and that’ll be where you splurge or focus more of your budget on. While hand carved nameplates on quartz slabs might be amazing to have at your wedding, it might not be a crucial item, which means it may need to be cut from the decor plan. For me, awesome photos, a huge cheeseboard and good music were most important, and therefore things I didn’t want to skimp on.

Find a venue that allows BYO. Many vendors require you to use their caterer or preferred partners. If you’re lucky, you can find the perfect spot that will let you bring in your own booze and/or your own food. That way, you can get quotes from various catering services and ultimately find something more affordable. To see my list of Orange County venues, what they cost and include, click here. Having more control over your wedding takes more planning, but also saves you money.

Easily find vendors within your budget. Use www.thumbtack.com to set your budget for a specific need and you’ll get quotes back from a few vendors within 24 hours.

Avoid telling vendors it’s for a wedding. A lot of vendors upcharge for weddings. Sometimes you can’t get away with NOT sharing this *tiny* detail, but do your best. “Oh I’m just having a big party…for like 150 people”.

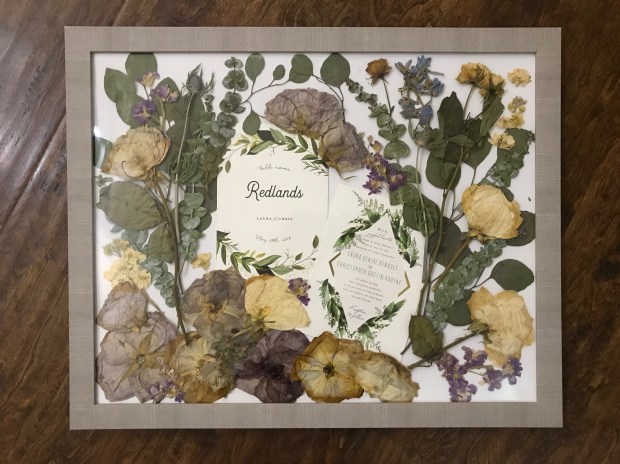
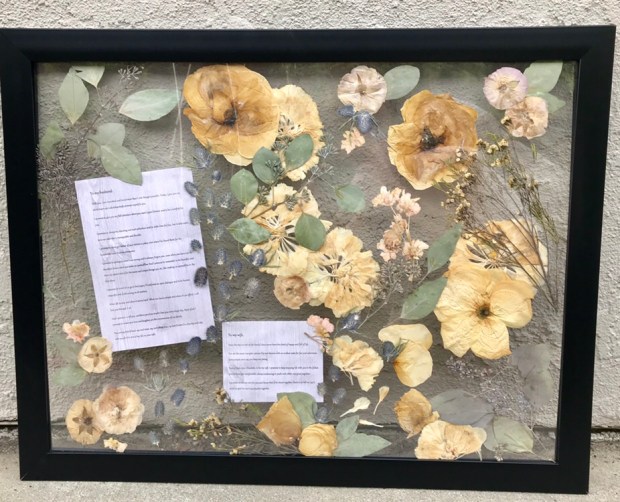
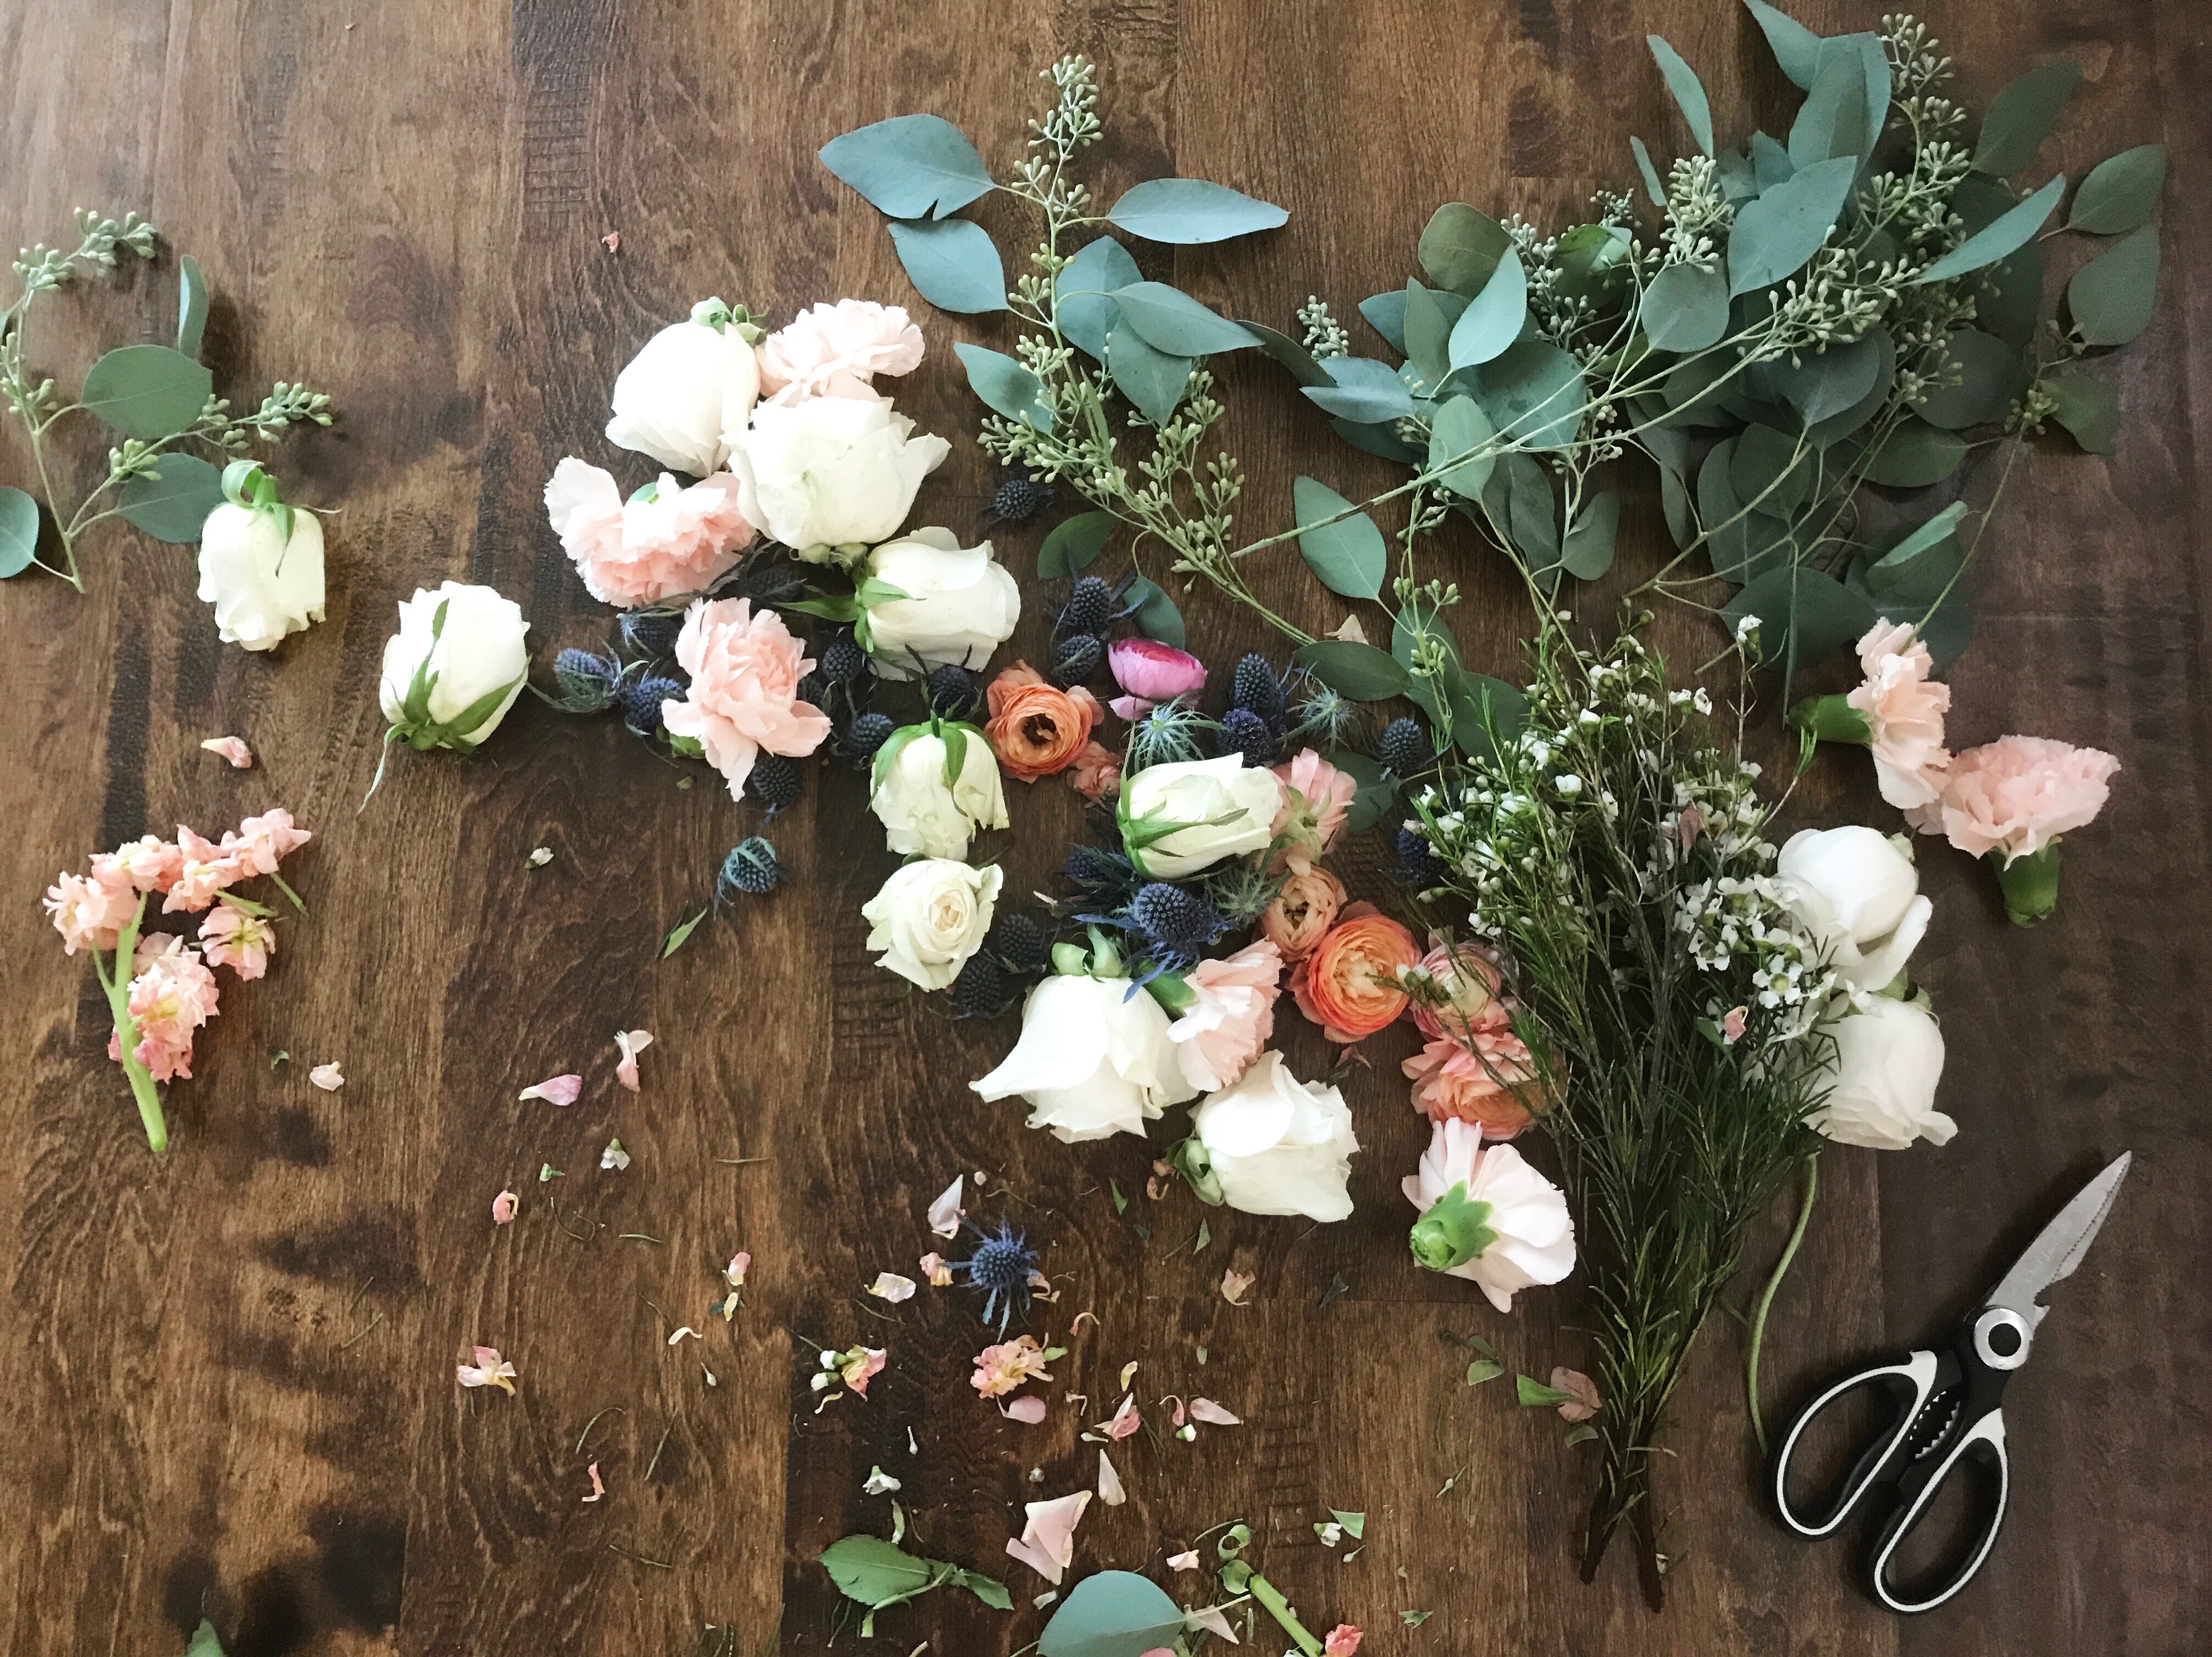
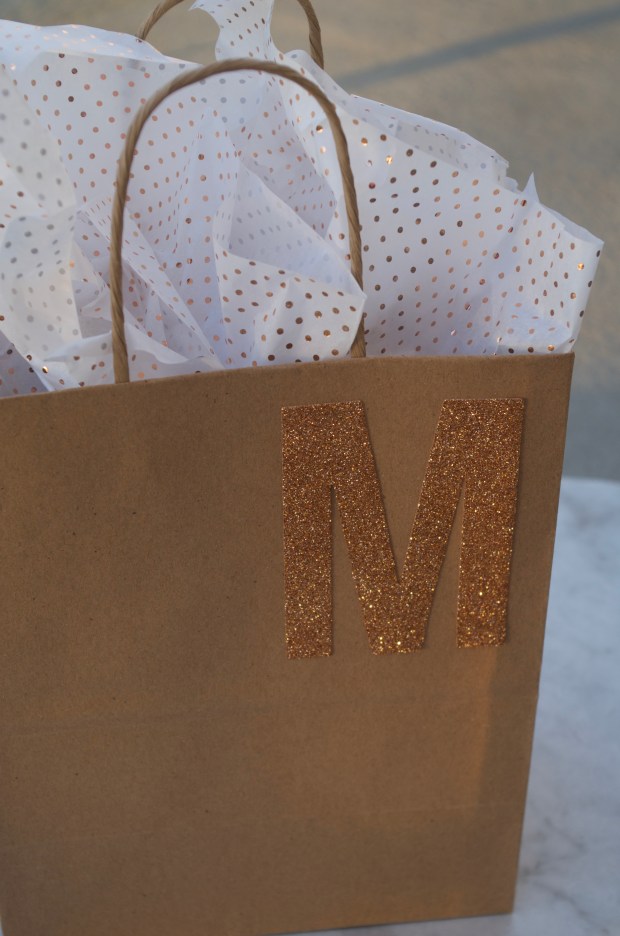
Utilize your resources! A lot of times, your friends or family will be someone or know someone who can help and will do an amazing job. If you’re willing to work with a vendor who doesn’t necessarily do their trade full-time, it’s likely to be a lot more affordable (or free!). My aunt worked on calligraphy, my coworker created our table numbers & printed graphics, my friend’s friend made our bouquets last minute, and a family friend who DJ’s for a lot of charity events became our awesome DJ!

Huge thanks to all of our amazing vendors!

Photographer: Rachelle Photography
Pizza: Paul’s Rustic Oven
Day-of Coordination: Events by Christina
Hair: Meghen Lord
Makeup: Kelli Renault
DJ: Greg Andrews
Florist: Ahnalise Draper
Calligrapher: The Lovely Hue
Graphic Designer: Joy Shows
Videography: My grandad
Dress: Isolde by Anais Anette
Dress Shop & Alterations: Love & Lace Bridal Boutique
Shoes: Betsey Johnson
Jewelry: Kendra Scott


ClaudettesCorner

Lavender & Rosemary Soy Candle Recipe

imgp4744

{Pretty in Copper Bridesmaid Gifts}

Wedding planning is off and running and what I’ve realized is that there really are so many little details to consider. Some of these details aren’t very exciting for me (figuring out how to hook up all the lighting in the backyard), but others I probably spend too much time obsessing over. I was incredibly excited to ask my bridesmaids to be bridesmaids, especially because I got to craft a cute little gift for each of them.

Simple but sweet, the goodie bags included a homemade soy candle, nail polish, and a mini bottle of rose (scent infuser for my little sisters).

Before I get into how to make a candle, I have two pieces of wisdom.

  1. Candles have a memory. A lady at the farmer’s market told me this once and it was one of the most useful things I’ve ever learned. When you first burn in a candle, you must let it burn all the way to the edges before blowing it out. Otherwise, it will remember it’s last path and burn down right where it left off. Plan to burn your candles for about 2 hours the first time around.
  2. Anyone can make a candle. It’s really fun and rewarding once you get the hang of it.

Lavender & Rosemary Soy Candle Recipe

imgp4743

*Creates eight 1/2 pint jars

What you’ll need:

Set up:

  1. Unscrew all jars.
  2. Hot glue the bottom of each candle wick and press down in the center of the jar. Let sit for 5 minutes.
  3. Use two clothes pins to clip on to the middle of the candle wick and let them rest on the edges of the jar. The idea here is to keep the wick in place, as it will wilt when the hot wax is poured in. Try to get it as taut as you can so you end up with a straight wick.

Making candles:

  1. Melt the wax in the pouring pot for about 30 minutes. If you use a 10 lb bag, you’ll need a little less than half the bag.
  2. Stir in lavender scent and remove from heat immediately so the scent doesn’t evaporate.
  3. Carefully pour wax into each candle, filling it to the bottom of the opening.
  4. Place rosemary sprigs inside each candle, keeping them away from the wick.
  5. Let cool overnight at room temperature. Try to keep them on the warmer side, otherwise the wax can cave in on itself while drying.
  6. Trim wicks to about 1/4 inch.

That’s it! The best part is you can switch up scents, try adding color, or use different types of votives for a whole new candle!


ClaudettesCorner


DIY Framed Chalkboard

We bought a pool table and a dart board awhile back, but didn’t had anywhere to keep track of scores (and how many times I’ve beat Matt in pool). Matt suggested creating a large chalkboard right on the garage wall. Sold!

Here’s how we made it:

1. Make your frame or find a wooden frame you wish to use. To make the frame, use a 90 degree angle to outline the edges of your frame so they’ll connect.

2. Create your chalkboard space. Hold the frame up to the wall and trace inside of it. Place masking tape just outside of the lines on all four sides.

3. Sand the wall. This will help the chalkboard paint stick better.

4. Spray your square. We used chalk paint spray paint but you can always use regular chalkboard paint.

5. Let it dry.

6. Add the frame. We chose to screw it directly into the wall.

7. Voila! Start using it! We found out the hard way that liquid chalk doesn’t work very well on chalk paint, so I recommend using regular chalk.

*Check out my other DIY projects*


ClaudettesCorner.jpg