Summer Engagement Party Details

I’m all about DIY, so when my now-fiance proposed at the beginning of July and proceeded to tell me he wanted to have our friends over for a celebration the following weekend, I got straight to picking out some fun things to make.

I am bright-color obsessed and wanted to pick out a few that I know we won’t use for the wedding, but also didn’t want it to look like a baby shower. Blue, hot pink and yellow with a pop of copper it is!

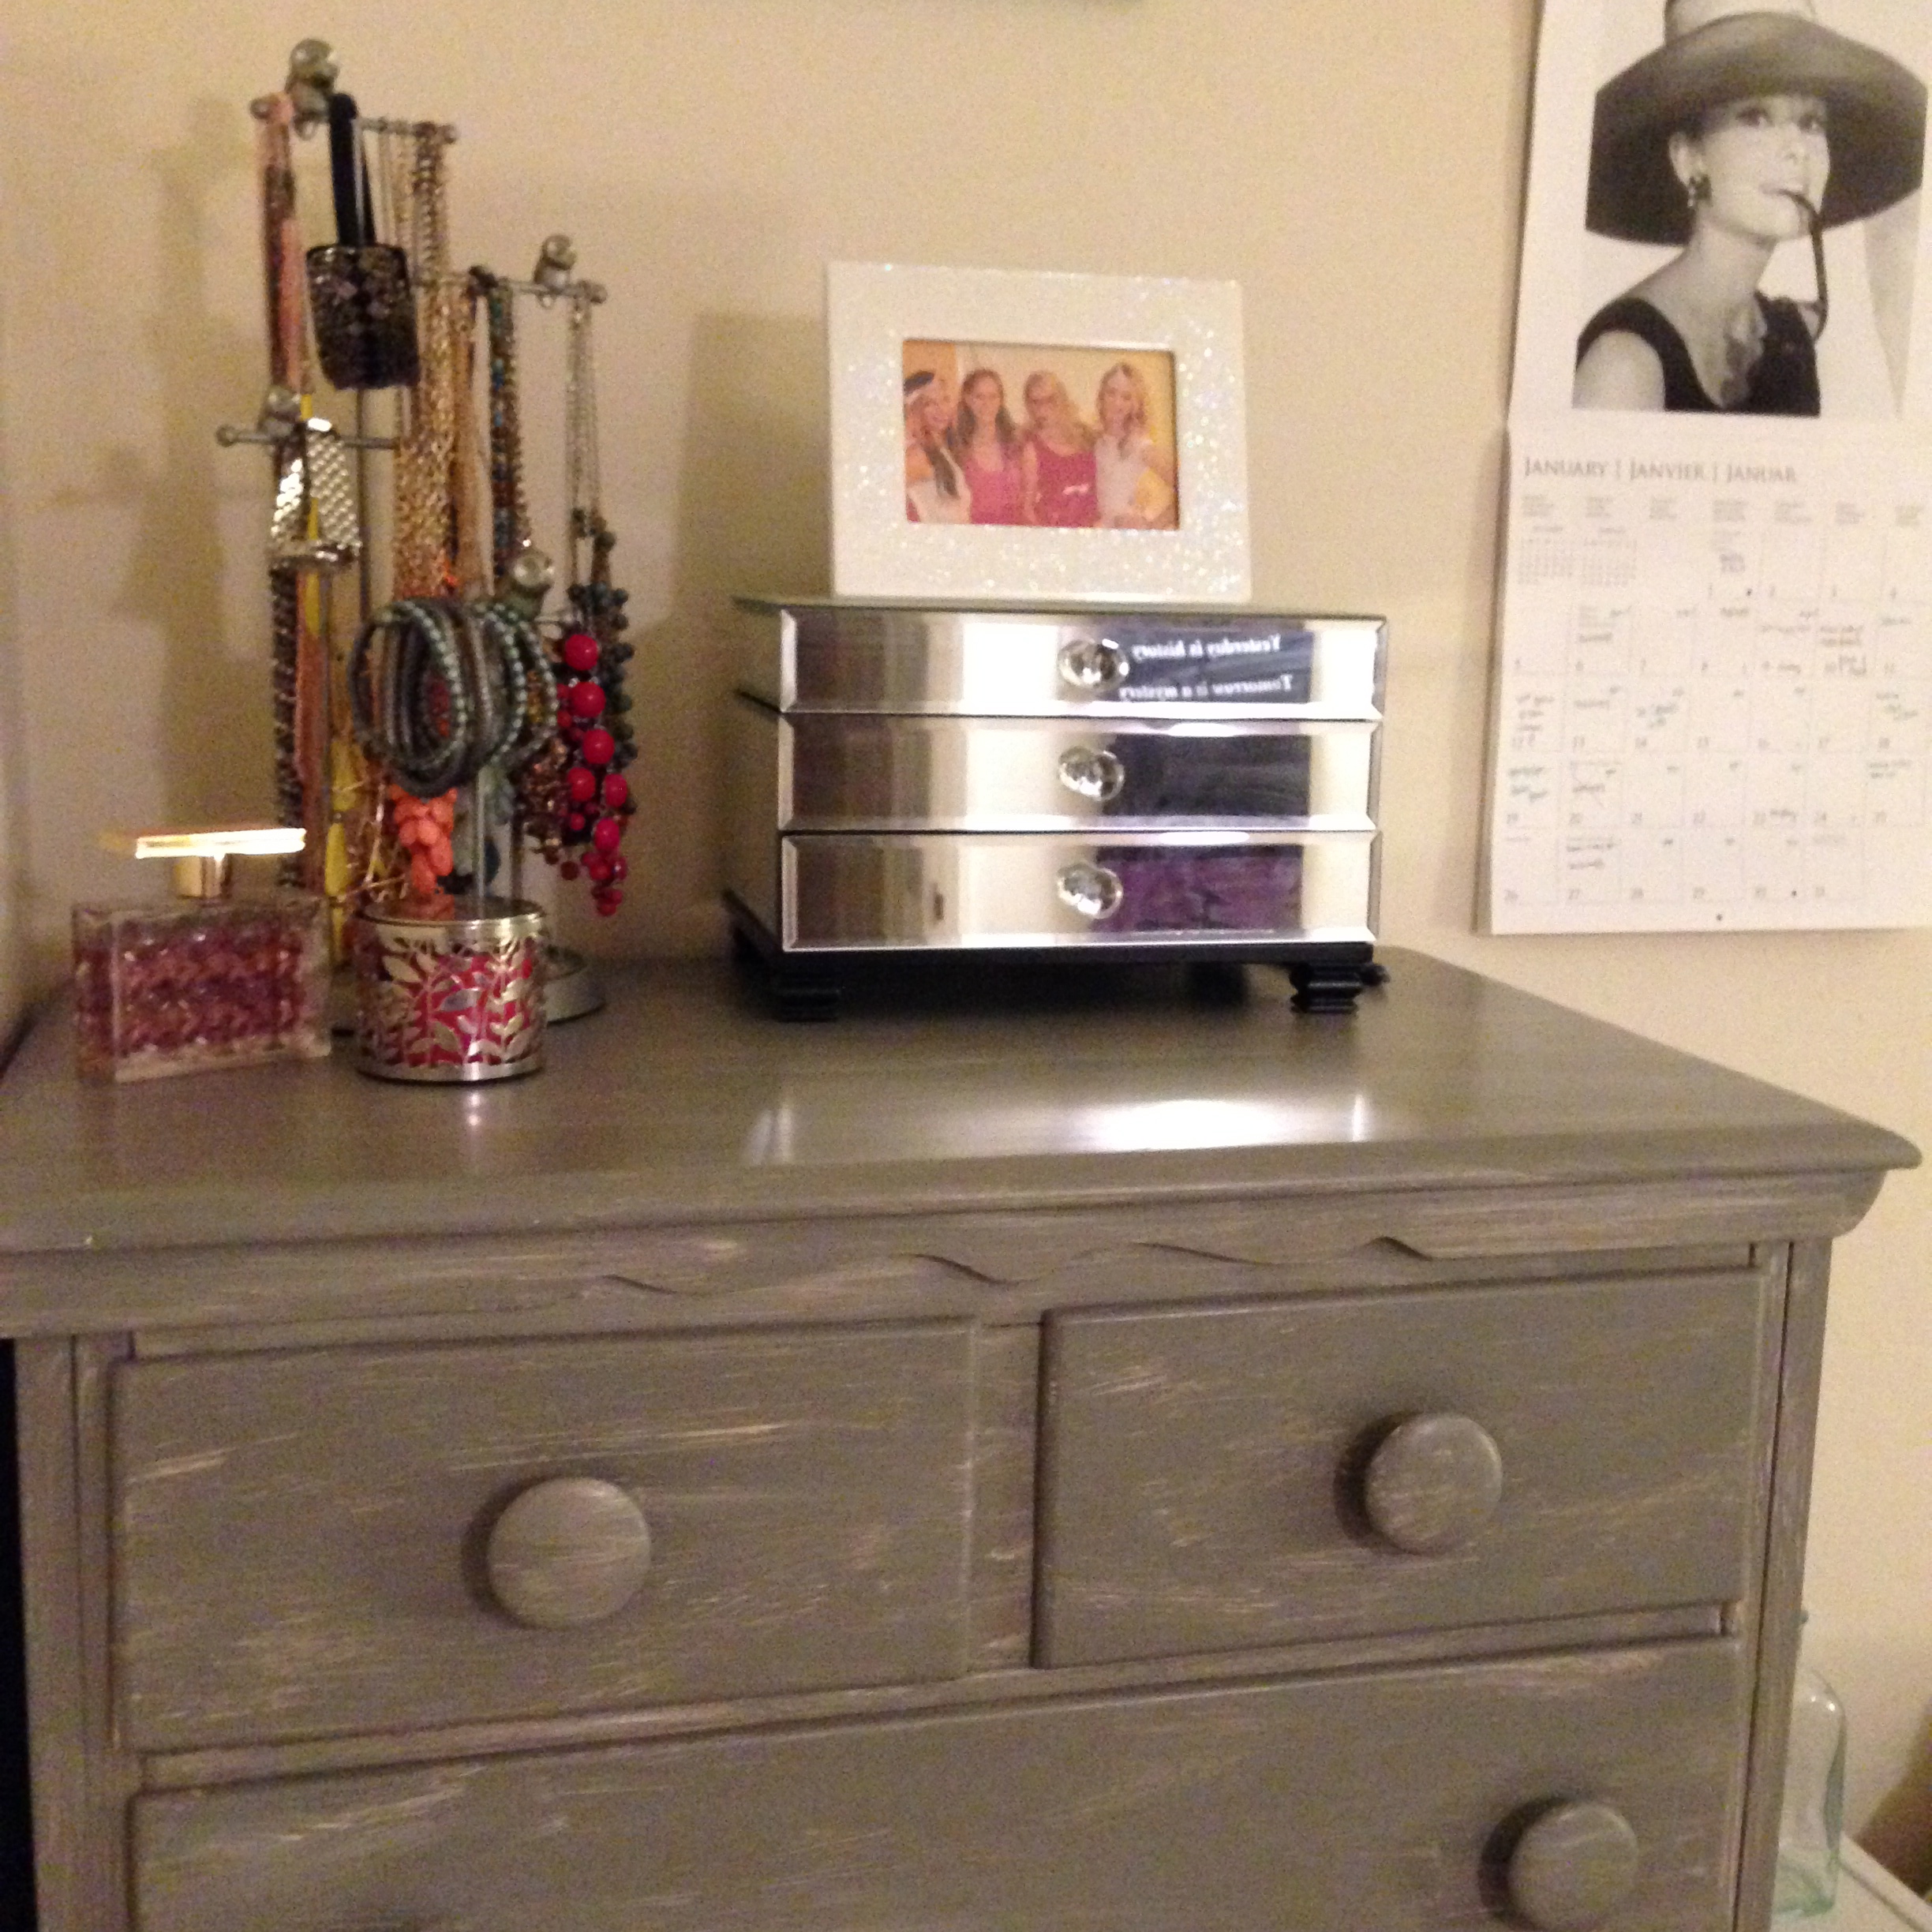
Here are some of the details from the party:
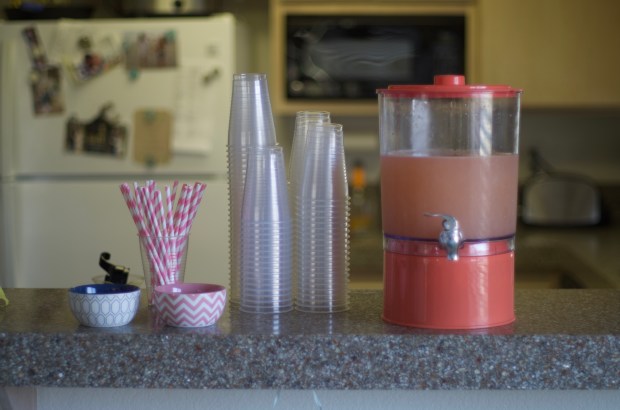
Pomelo Cocktails

Grapefruit juice, club soda, sugar, & lime juice in a salt rim glass, topped with a lime.
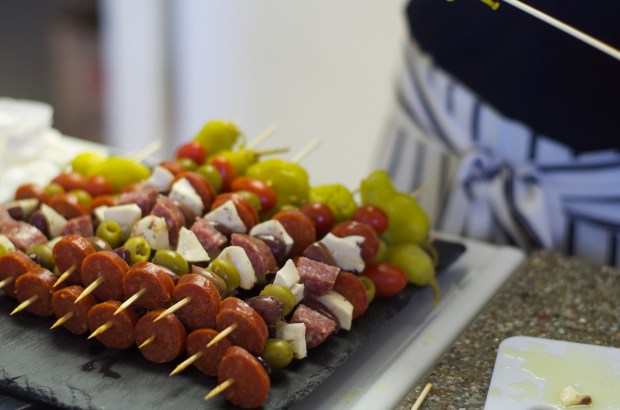
IMGP2606IMGP2610

Anti-Pasti Skewers

Kalamata olives, green olives, peppercini, grape tomatoes, mozzarella cheese, & sausages.

IMGP2600

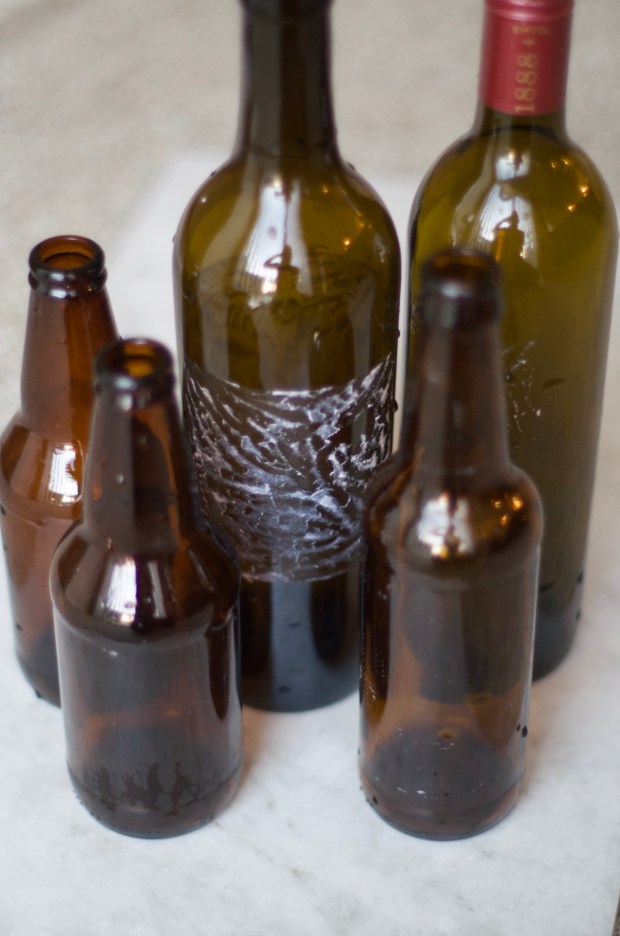
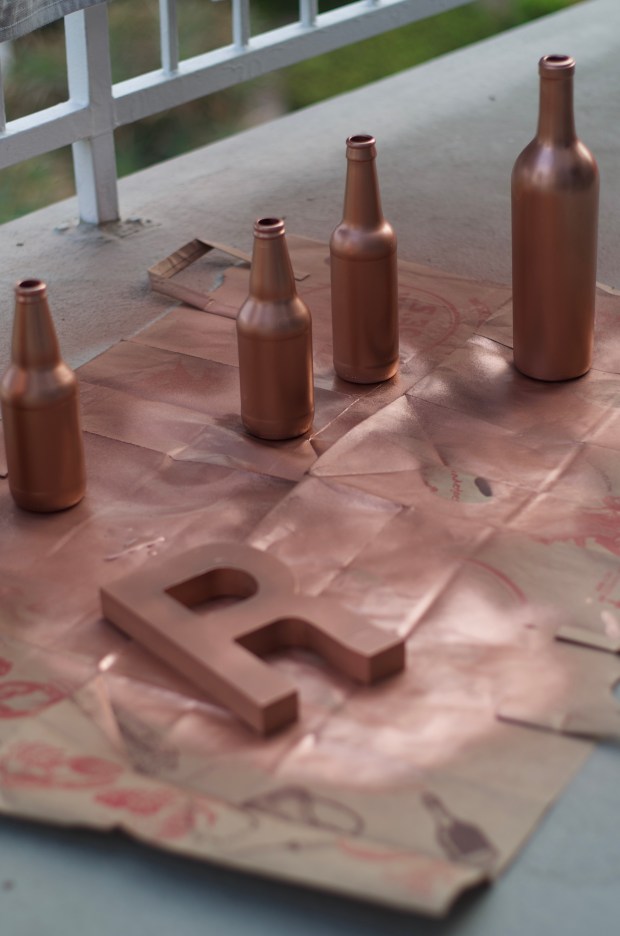
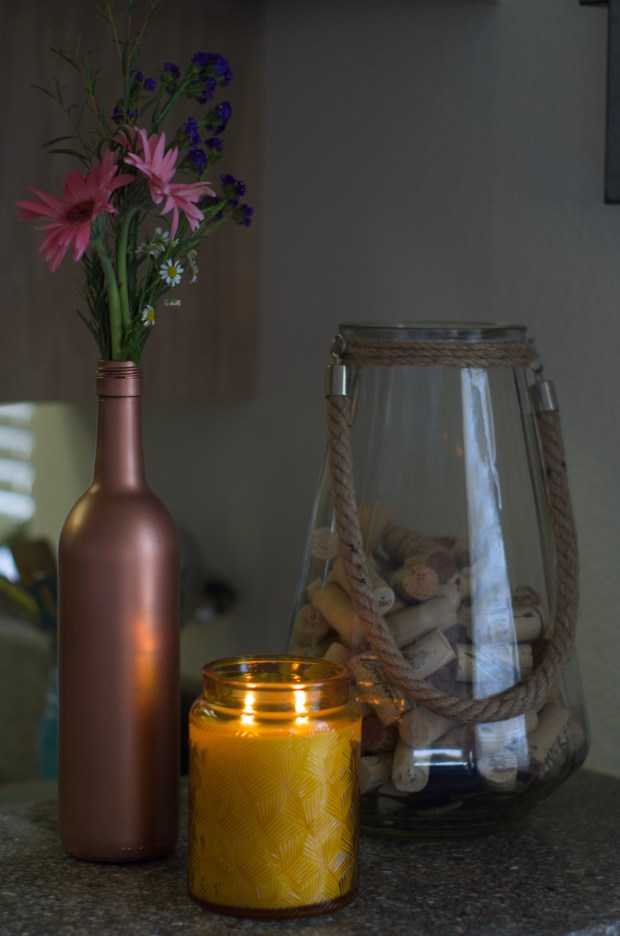
Copper Vases & Wild Flowers
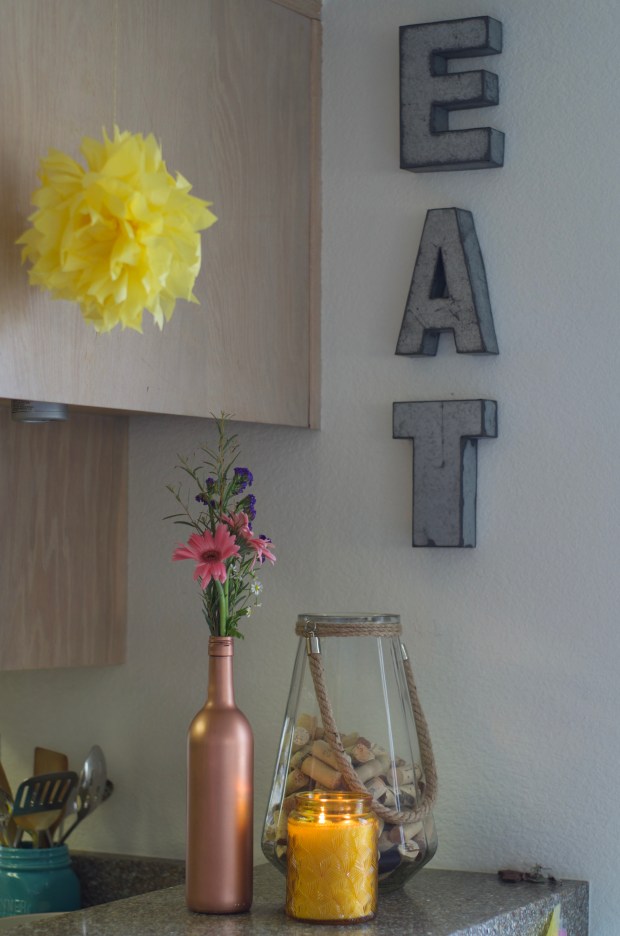
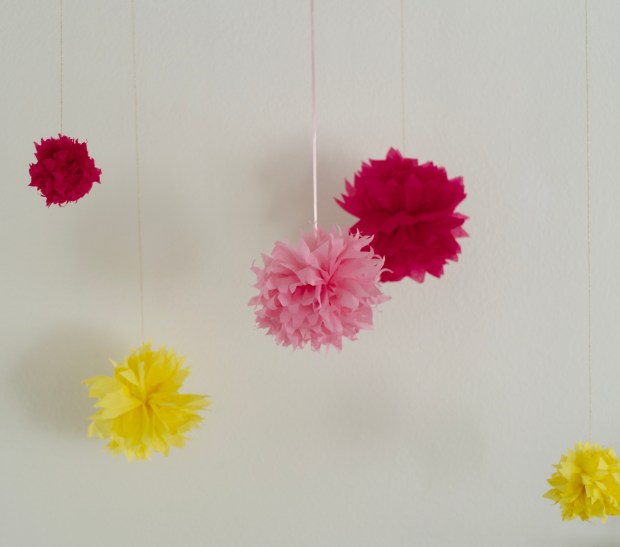
DIY tutorial here.

IMGP2602IMGP2604

Hanging Pom Poms

DIY tutorial here.

IMGP2577IMGP2585


ClaudettesCorner

Advertisement

DIY Hanging Tissue Pom Poms Video Tutorial

IMGP2577

Fair warning, these are easy to make but take longer than you might expect…especially when you’re making over 20 of them. BUT, they are a super fun and cheap way to bring the party to your living room. I wanted various colors, shapes and lengths to create depth, but you can really make them however you want!

Supplies:

  • Tissue paper stack cut in half (10 sheets per pom pom)
  • Ribbon
  • Scissors

Instructions:

  1. Place 10 sheets of tissue paper on top of each other. Cut in half. I tried a couple ways of cutting them – in half and 2/3 to 1/3 to create one big and one small. Small ones are hardest to make and the large ones droop too much for my tastes.
  2. Fold like an accordion with 1 /2 inch of space in between – backwards and forwards.
  3. Once completely folded up, cut the edges – you can either round the tips or cut into a V.
  4. Cut a long piece of ribbon and tie one end in a knot around the center of the folded up tissue accordion. This keeps everything in place but also gives you something to hang the pom pom up with.
  5. Pull one side of the accordion open like a fan and lay it flat on the ground.
  6. Carefully unfold and fluff each piece of tissue so it forms a ball.
  7. Once each piece is pulled apart, you can pull pieces towards and away from the string and the other tissue as needed.

IMGP2585IMGP2582

*Check out my other DIY projects*


ClaudettesCorner

DIY Copper Vases Using Beer & Wine Bottles

So, I’m obsessed with copper. And beer & wine.

Old bottles + copper paint = rustic sophistication.

I made these vases for our engagement party a couple weeks ago and even keep them to use in the future since they turned out so well.

IMGP2602

Supplies:

  • Beer and wine bottles
  • Metallic copper spray paint
  • Matte finish protective spray
  • Wild flowers

Instructions:

  1. Peel off wine and beer labels
  2. Scrape off the leftovers by soaking in warm water
  3. Spray with copper spray paint and let dry
  4. Spray with matte finish to keep from chipping

IMGP2553IMGP2575IMGP2604

*Check out my other DIY projects*


ClaudettesCorner

DIY Shabby Chic Furniture: How to make a dresser look distressed

My grandma gave me this dresser when I moved into my first apartment in college. After two good years of use, I decided to update it when I moved to San Diego. I was really into the whole “shabby chic” thing at the time so my roommate and I wanted to try out the look and extend it throughout our apartment.

I unfortunately did not take a photo of this dresser beforehand, but it was a dark amber wood and looked very 70s. Tying it in with the shabby chic theme was relatively easy – just a white coat of primer and then a shade of gray on top.

Antiquing/Distressing

To get the antique look, paint a section and then use the brush backwards to pull out some of the white. So, instead of just painting left to right with the bristles pointing to the left, keep the bristles facing left and push the brush right to left. This gives the paint a distressed look.

IMG_1005IMG_1017

For more DIY projects, click here.


ClaudettesCorner.jpg